I have always been intrigued by the Raspberry Pi mini computer. It was designed to be an affordable means for people to learn programming and Linux. Starting at $29 and having sold millions, it has accomplished its goal and more.
When it was first released, there were waiting lists for months to get one You can now get one any time from Amazon with free 2 day Prime shipping. They have also released version B, which adds more RAM to the original's 256 megs. Version B has 512 megs of RAM.
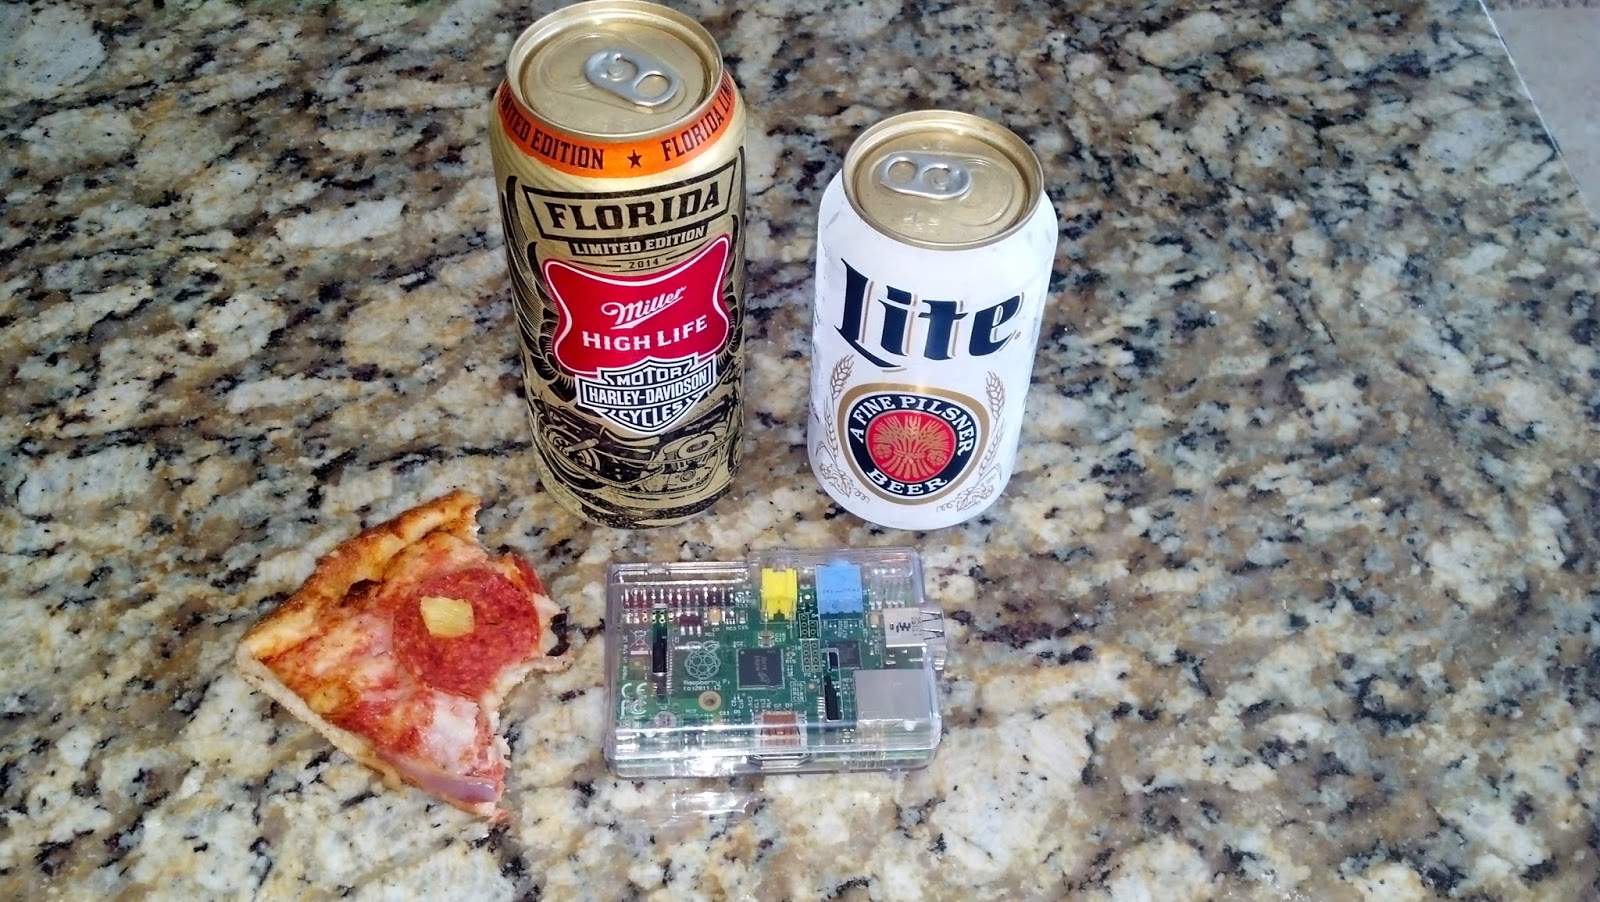
Pictured is the Raspberry Pi and clear case with the following items added for scale: Last night's mostly eaten pizza, Miller High Life Tall Boy, 12 oz retro Miller Lite.
Here we will discuss setting a Raspberry Pi up as an XBMC (Xbox Media Center) computer for playing stored video files either locally attached to your Pi via USB or located on your network share. Never heard of XBMC? It is way cool and is the OS that the Boxee device is based on. It is free Linux software. Here is a mega guide for XBMC installation, tips tricks and customizations: Guide
Why do we want to do this? Well, because we can and it is a learning experience. Also, we love getting the most out of the least. My Pi is streaming 1080p video in the form of the movie "Need For Speed 6" from my network storage device (Synology) perfectly right now. During the streaming, the Pi is drawing between 2-3 watts of electricity according to the killawatt meter it is plugged into. Using it this way, it is a living room device you shouldn't need another remote control for, as we will be using a cell phone for remote control functionality via the XBMC Remote App.
For our Raspberry Pi project, here is a list of what you will need: -Raspberry Pi computer. I recommend the B model with 512 megs of RAM for $39. http://www.amazon.com/gp/product/B009SQQF9C
-Some case for your Raspberry Pi. There are tons of options for sale on Amazon or elsewhere that cost a few bucks depending on your style. I chose a clear case.
-A Flash Memory Card for storing and running the Raspberry Pi operating system. (It must boot from this flash device) Here is one that should work, and is a Class 10 (fastest spec currently) access drive. Capacity is not so much of a concern here since you will be streaming files over the network or attaching a separate USB drive with files on it for playback. http://www.amazon.com/gp/product/B007M54E08/ref=oh_details_o00_s00_i00?ie=UTF8&psc=1
-An Android device cell phone charger with the Mini USB connector. Most any modern, name brand charger will do. This is the power supply for your Raspberry Pi.
-An HDMI cable for connecting to your TV -USB Mouse and keyboard for initial config and setup -Memory card reader for initial loading of the operating system from your computer. This one is cheap and should work: http://www.amazon.com/Plugable-Windows-Certain-Android-Systems/dp/B008OZF9SQ/
-XBMC Operating system for Rasberry Pi Here are instructions for installation: http://www.raspbmc.com/download/
-Cell Phone or other device with an app store where the app: XBMC Remote is available for download (free). This is what you will use for remote control of your XBMC system.
-Wired network connection that can get to the internet.
-Chilled Beer of your choosing. I like the retro Miller Lite cans as my personal preference at this moment. Liquor works well too, or you can mix them. I like to start the night off right with an Irish Car Bomb (1/2 glass Guinness with a shot of 2/3 Baileys Irish Creme, 1/3 Jameson). Drink as a shot by dumping mix into Guinness and then pounding. Nothing gets the party started quicker and easier.
Lets Roll! Step 1: Collect your memory card reader, flash drive and beer Step 2: Plug reader and flash drive into your computer Step 3: Follow directions here for installing XBMC boot environment on your flash drive: LINK Step 4: Plug Flash drive into Raspberry Pi and drag over to your TV. Plug HDMI cable in to TV and Raspberry, plug keyboard and mouse in, connect network cable, and connect power to your Pi.
Raspberry will boot up and present its status on the screen for you. It will connect to the internet and download the operating system and any updates needed. This will take 15 minutes. It suggests drinking coffee. Do this if you are lame or are on the 12 step program.
It will then reboot your Pi and present your shiny new XBMC user interface. Boom you are there. Pour some beer out for the homies that don't have a Raspberry Pi with XBMC because as of now, that aint you.
Now on to configure, customize and have some fun with. Hook up your media by following the prompts and entering your relevant info, hook up your cell phone as the remote by entering the IP address of your Pi and you are home free. See first Guide link up top for more in depth configuration and customization options. Watch a movie. I recommend something 1080p right off the bat to make sure your Pi is up to the task.

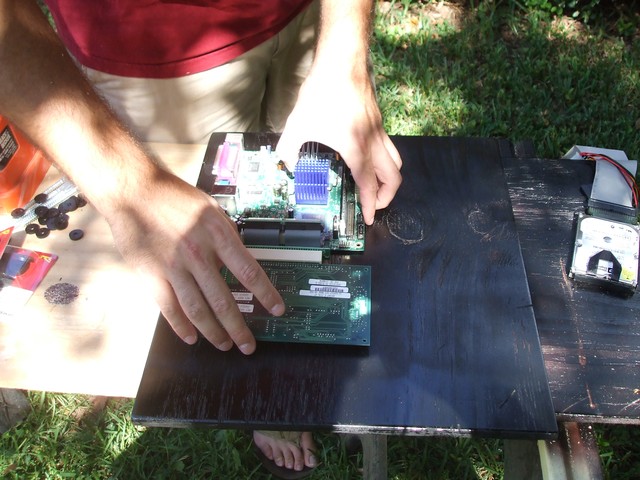 Laying out parts on painted plywood.
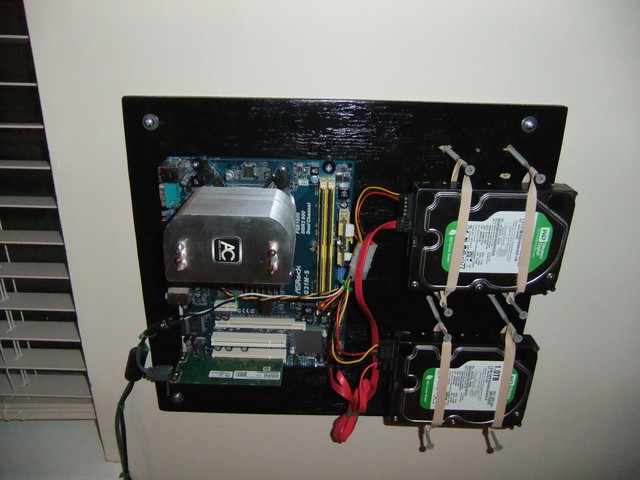
 Motherboard and NIC mounted using rubber washers to make them standoff from the wood. We didn't want to but realized that we had to mount the NIC upside down. Oh well. Notice this NIC is older than dirt and has coax input. It is a 16 year old 10Megabit card, but it is still going strong. His internet comes in at 3 Megabits, so no speed bottleneck there.
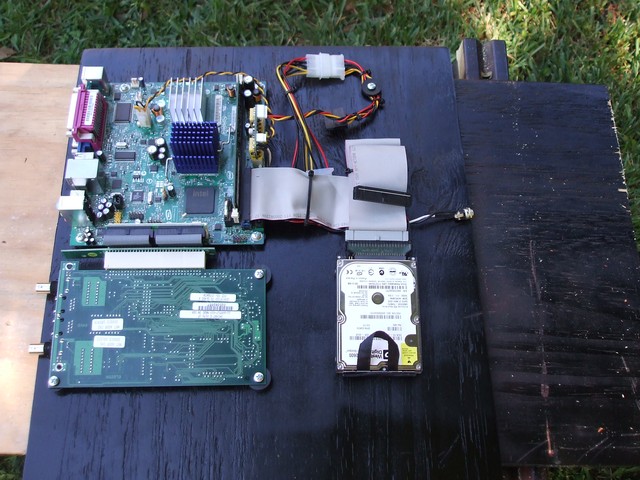 Hard drive mounted with double sided tape. This hard drive will be replaced with a 3.5 inch drive at the last minute when we got lazy and used the drive that was serving IPCop when it was in the normal case so as to save time not having to install it to the laptop drive. (I got overruled here. I thought we should use the laptop drive to make it a quieter system that used less electricity. Ultimately, it was Steve's computer so his choice.)
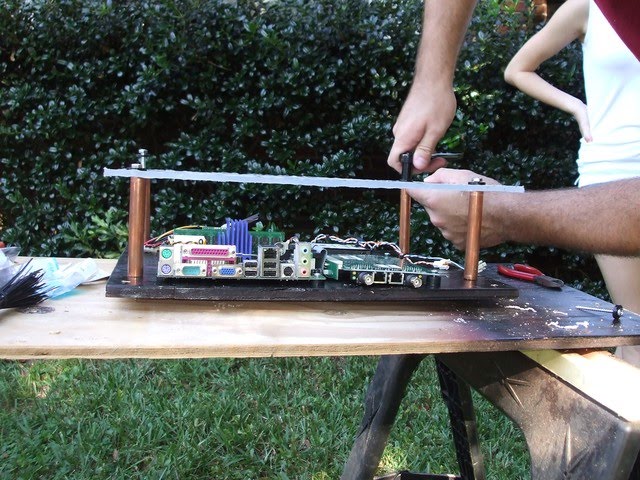 Acrylic mounted using 4 inch screws and copper pipe as standoffs. There is room here to stick a hand in to do maintenance without taking off the acrylic.
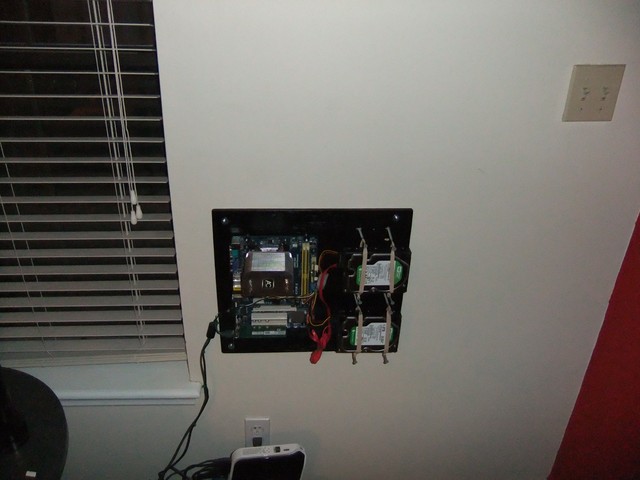
 Almost finished. Got it all installed, and need to drill holes for hard drive led and power switch.
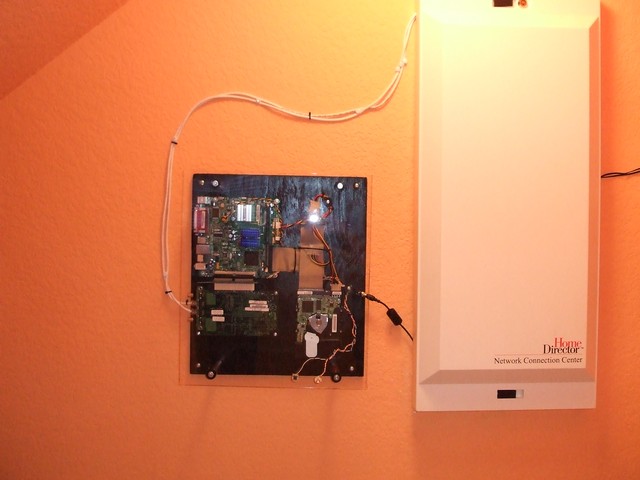
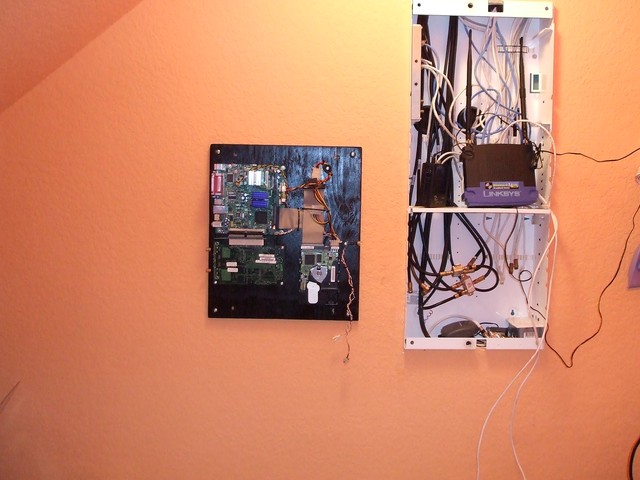 Mounted to the wall using screw in drywall anchors. The computer weighs less than 20 lbs. Power comes from a laptop type power brick included in the PicoPsu kit.